Call us at: 713.999.1892
Deployment and Configuration with a few Clicks
The hallmark of inMemory+ is the convenience of deployment and configuration. You can easily build a whole distributed cluster over the network in just a few clicks.
Setup is very simple and user friendly with a powerful installer. It automatically installs all the required software and framework on the client system, before installing the inMemory+ main application.
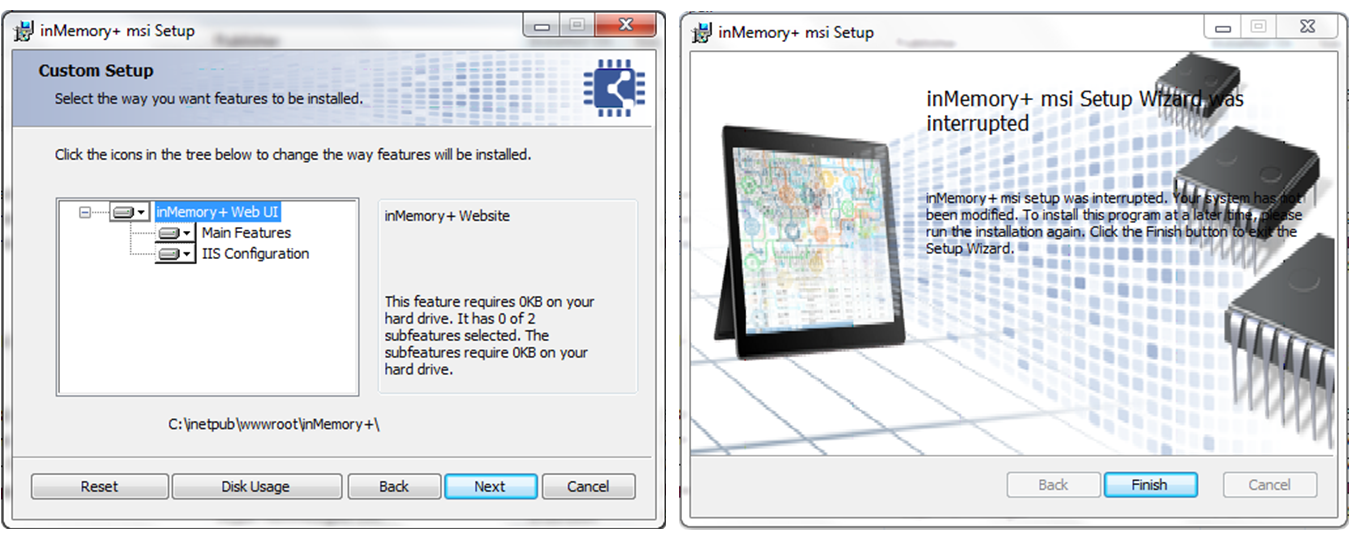
During installation, some screens will display the setup progress of the installation of prerequisites. After the prerequisites are verified and installed a step-by-step installation guide continues and provides installation customization options.
This “Custom Setup” screen displays the application installation location. By default a path is set for user, however the user can select a different location by clicking on the “Browse” button.
Installer updates the progress of the installation on several screens.
After the inMemory+ installation is done successfully, it displays a Setup Completion screen.
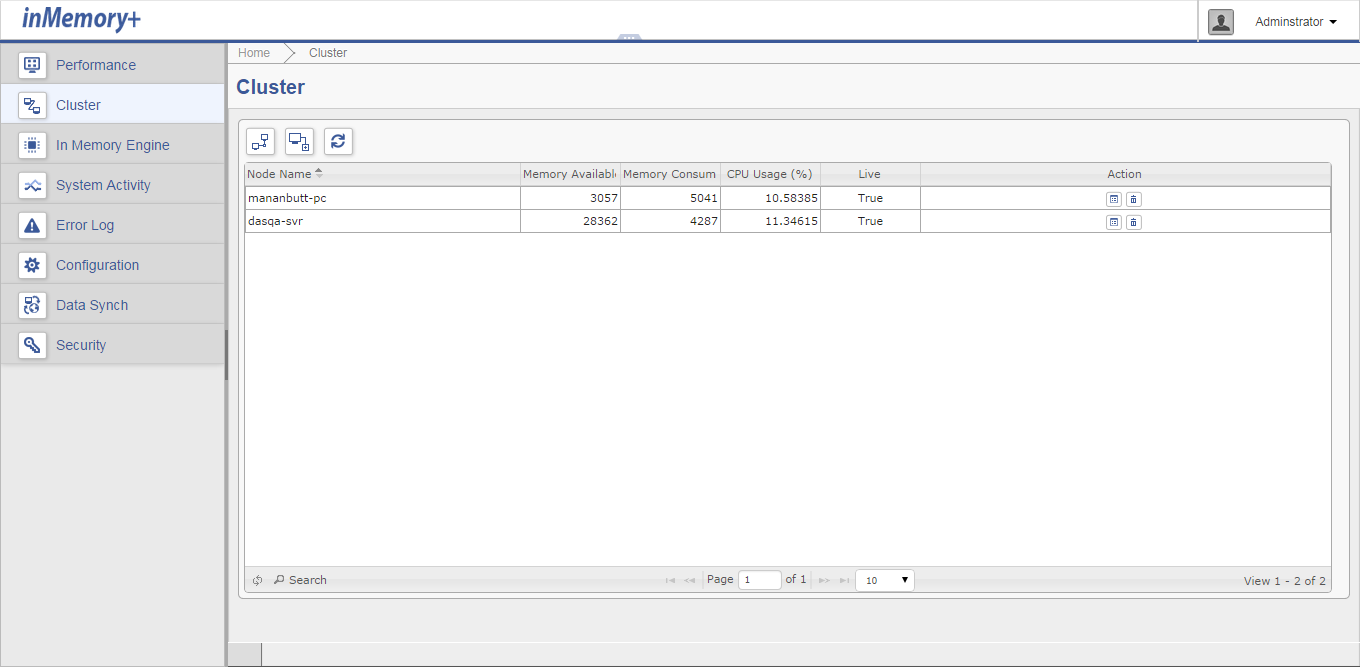
To use the application, the first thing to do is setup Nodes and install all required services. On the cluster screen the “Master Control Panel” icon is selected to install Master Control Panel Services.
More Slave Nodes can be added using the Add Node option. Master node controls the installation of other Nodes in the cluster. On the following screen, users can easily view the Machine Name of the physical machine where the Master Control Panel and Nodes are installed. Health and connectivity information are also available for each node on the screen. In front of each Node there are options to control operations of its services.
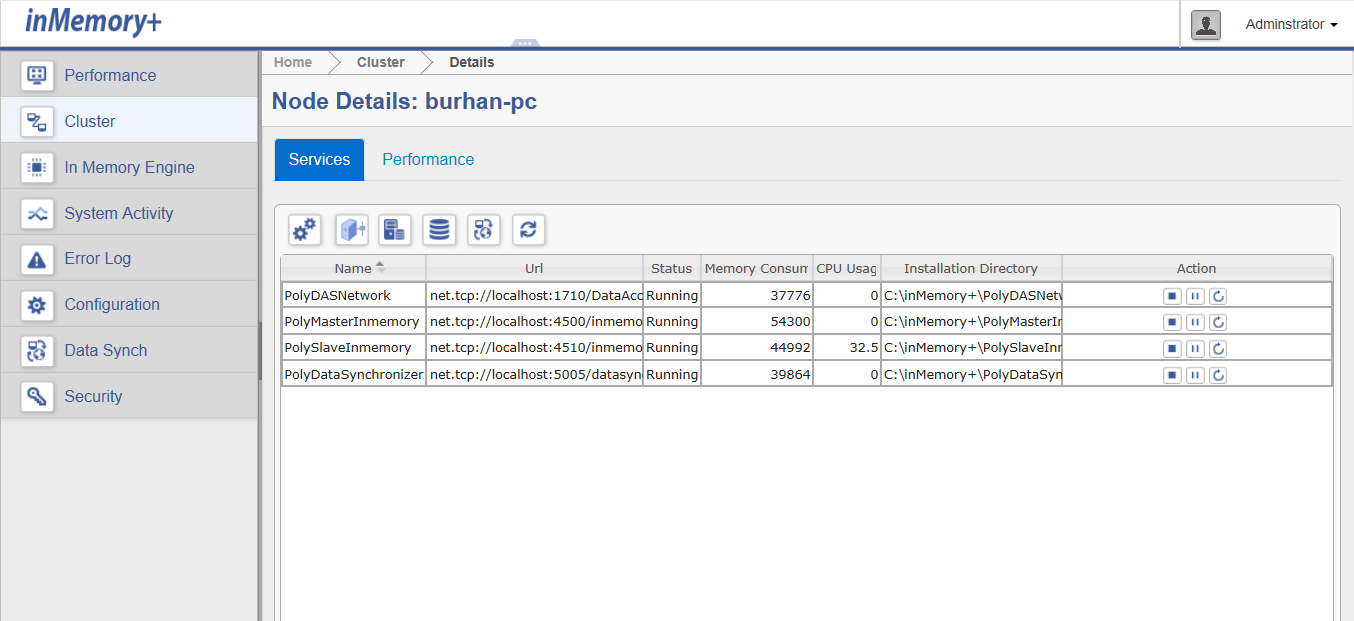
At any Node, the user can install and start an inMemory+ Server Service, e.g., Master, Slave, and synchronizer services. Following screen display installation of inMemory+ Network mode database, this list shows the installed services. A user can start the inMemory+ server and its services with the options available under ‘Action’. The real-time health of each service on the Node is also shown.


